How to Do Your Own Acrylic Nails at Home

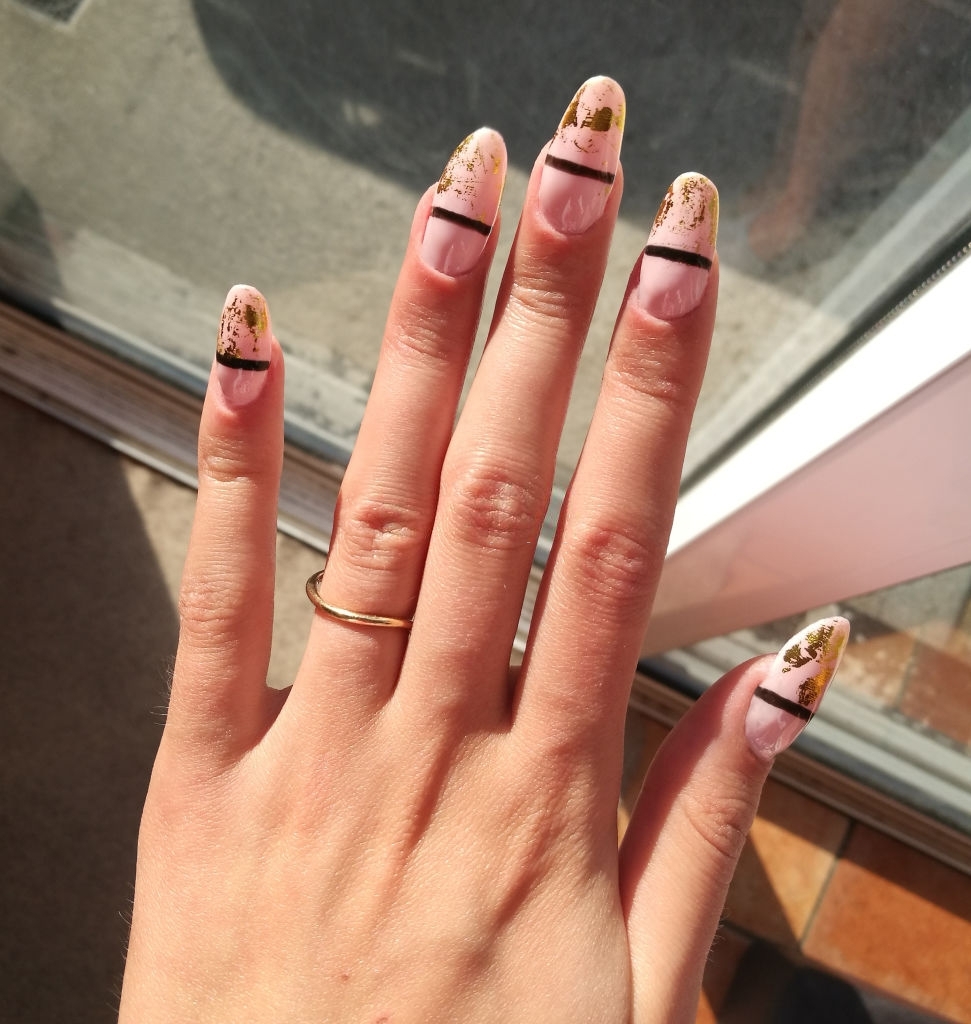
Acrylic Nails help women to get their desired size & shape nails. Many women would want their nails to be longer than their actual natural sizes. Long nails are considered more attractive in the modern world of fashion. Due to this fact, the popularity of acrylic nails has been increasing rapidly in the recent past. Most people prefer getting their acrylic nails done at a salon, but if you want to do your acrylic nails at home, you could very well do that if you follow these steps. Certainly, doing your acrylic nails is a process that must be followed properly, but overall, it is a good option to do your nails at home as it would save a lot of money and time.
Purchase a kit for acrylic nails
You might already be aware that to do this process at your home by yourself. You will need a certain collection of things,s and it is recommended to buy the dedicated acrylic nail kit. That would contain all the necessary items that you would require to do it perfectly. It would be best to keep in mind while purchasing an acrylic nails kit because you do not want tips with MMA, which is highly inflexible and tough, which is not healthy for your nails.
Apart from the convenience of getting all the things, it is recommended to buy things separately if you are looking to save money. Also, if you stock up on full-size products, you can even touch up your acrylic nails after a week of the process without visiting a salon for the same, which would not be possible if you purchase the acrylic kit. Regardless, if you are trying to assemble everything required separately, you will need to get the following things to do this.
- Acrylic brush and bowl for mixing
- Acrylic powder
- Acrylic liquid monomer
- Acrylic nail primer
- Acrylic nail dehydrator
- Nail tip glue
- Acrylic nail tips
- Semi-coarse nail file
- Nail clippers
Prepare your nails
As you are not in a salon anymore, apart from doing the process itself, you have to do certain other things to prepare your nails for the process.
The main objective is to have your original nails short so that the acrylic tips would be attached and not snap off along with the acrylics.
Buff your nails: The final thing you need to do to prepare your nails is to buff them until they are even and free of any snags.
Remove old nail polish: It does not require any explanation. You must already be aware that before applying any items, it is necessary to remove any old polish from your nails. If you possess gels, it is recommended to take some time to get it off completely, as otherwise, you are just causing the possibility of unnecessary damage to your nails before applying acrylic.
Push your cuticles back: Another thing that is very important to protect your nails for the acrylics is to push your cuticles back gently, but keep in mind that you do not have to cut them. If the cuticles are stubborn, you can soak your nails in warm water before trying again.
Use acrylic nail glue to apply and size your acrylic nails
As you are getting your kit for the process, you will have different options regarding the acrylic tips, length bits, and sizes to choose from. You have to choose the best size that suits your tips among the different options.
After you have chosen them, it is time to apply them one by one using acrylic nail glue. To do this, you must apply pressure on the nails for at least 10 seconds to ensure that it is secure.
The acrylic nail glue could be visible just after applying it but keep in mind that you do not have to worry about its visibility just yet, as we will mention steps further where you could acknowledge that. The main objective here should be to attach the acrylic nails completely to your natural nails without breaking them off and ensuring that you are not moving to the further steps.
Shape your new acrylic tips
After securing all of your tips, the next step is to shape them as per your requirements using nail Clippers. Regarding any separate and noticeable line where the tape is attached, you can buff it down to create a more unnoticeable surface.
Apply a dehydrating nail primer
After applying your acrylic nails and fitting them, it is now time to bring the authentic feel of a professional acrylic manicure. You must begin by dehydrating your natural nails to remove any remaining moisture before priming the entire nails. This is a very special process as it makes sure that acrylic tips are not separately visible and noticeable as themselves.
This process is very important as your acrylic mixture will adhere to your tips and nails in a better way.
Use the acrylic mixture to coat your nails.
To make a perfect mixture suitable for this process, you have to dip your brush acrylic into a bowl of monomer while ensuring that you do not over-saturate the brush and then dip that inside your pure powder, which must be then applied to your nails.
You have to repeat the entire process on each nail to have a smooth base on them. You can also follow up on this process with the acrylic powder color of your liking. Regardless of the choices, the main point here is that you must keep the bulk thin, as you do not want to add loads of bulk to your nail.
Let it dry
After you have done all the things mentioned above, it is time to relax and let your acrylic dry for some time. It would be best to keep in mind that it is temperature sensitive, which means the colder your room is, the slower the acrylic nails will dry and vice versa. This process must be around 10 minutes long, and by the end, you must be convinced that your acrylic nails are dry.
A great way to tell if your acrylic nails are dry and ready for another step in this entire process is by tapping them gently, and if you hear a clicking sound, then they are dry, and if not, then you must wait for at least five more minutes.
Finishing off
After your acrylic nails are completely dried and applied, the final step is to touch up the edges. During this process, all you need to do is file along the edges and tip to get a perfect Salon-like acrylic nail look. It must be kept in mind that you must never pull your acrylic nails off; instead, you must use an API file to get rid of the uppermost layer of topcoat and shine. After that, you need to wrap an acetone soap cotton pad around and over every nail before wrapping them with foil.


